Why Professional Video Setup Matters for Creators
Video is the dominant format for content creators in 2026. YouTube, TikTok, Instagram Reels, and Vaultiyo all prioritize video content for discovery and distribution. The intimidating part? Video equipment seems expensive and technical. The truth is much simpler: you can create professional looking video content on virtually any budget, from smartphone to thousands in cinema cameras.
The best camera is the one you have right now. Start creating. Upgrade equipment only when your current gear limits your creative vision or your audience size justifies investment. Many successful creators build six figure audiences filming on smartphones, basic lighting, and free editing software. Your dedication to consistent uploading, authentic storytelling, and audience engagement matters far more than having the most expensive equipment.
On Vaultiyo, creators earning money through subscriptions find that video quality directly impacts subscriber conversion and retention. However, professional quality does not require professional budgets. This guide walks through building a capable video setup at every price point, from free smartphone solutions to semi-professional configurations.
Camera Choices for Video: Smartphone to Cinema
Smartphone Video remains incredibly capable for 2026. iPhone 14 Pro, iPhone 15 Pro, Samsung Galaxy S24 Ultra, and Google Pixel 9 Pro shoot 4K video with exceptional computational video (stabilization, autofocus, exposure tracking). The cinematic mode creates that shallow depth of field look popular for story telling. Night mode captures content in low light that would require expensive lighting just years ago. Best of all, your smartphone is always with you and the learning curve is nearly zero.
The downsides of smartphone video: smaller sensors struggle in pure darkness without stabilization, no optical zoom (digital zoom creates artifacts), and limited manual control for advanced users. Despite these limitations, thousands of full time creators build income entirely on smartphone video.
Entry Level Mirrorless Cameras (£400-800) like Sony ZV-E1 or Canon EOS R50 deliver meaningful upgrades over smartphones. Better autofocus (crucial for video), larger sensors capturing more light, optical zoom capability, and full manual control if you want it. The ZV-E1 specifically designed for creators includes features like product showcase mode (auto focus on product during movement) and direct USB-C charging. The ergonomics of a camera with a grip feel more professional and stable during hand held recording.
Mid-Range Mirrorless (£1,000-2,000) like Sony A6700 or Fujifilm X-S20 represent serious filmmaker territory. These offer excellent autofocus tracking, high bitrate 4K recording, compact size, and room to grow. Sony lenses are incredibly diverse. The A6700 shoots 10-bit color that gracefully handles color grading in post production. Fujifilm cameras have superior color science straight from the camera, requiring less grading work.
Full Frame Cinema Cameras (£2,000+) like Sony FX30, Panasonic GH6, or Canon R5C offer broadcast quality recording, full frame sensors, and the largest selection of lenses. Reserve these for professionals generating substantial revenue or running content studios.
Audio Capture: Why Your Microphone Matters More Than Your Camera
This is crucial: viewers tolerate poor video quality far longer than poor audio quality. Excellent audio with mediocre video keeps viewers watching. Excellent video with poor audio makes viewers leave. Invest in audio capture first, camera second.
Smartphone Audio is terrible. Smartphone mics compress audio, introduce digital artifacts, and pick up every background sound at equal volume. Never record dialogue or voiceover with your smartphone mic. The solution costs £20-50 and dramatically improves your content quality.
Lavalier Microphones (£20-80) clip to your shirt or lapel, sit close to your mouth, and deliver clear dialogue. Wireless lavaliers (£80-200) let you move around without a cable tether. Perfect for interview content, product demos, presentations, and tutorials. The Rode Wireless Go series (£150-250) is beloved by creators for audio quality and reliability.
Shotgun Microphones (£100-400) mount on top of your camera and record directionally. They focus on sound in front of the mic and reject side and rear sounds. Perfect for outdoor recording, multi person dialogue, and dramatic content where background ambience matters. Rode Wireless GO II works with shotgun mics for professional results.
USB Microphones (£50-200) connect directly to your computer or phone for recording dialogue, voiceover, or podcast content. Blue Yeti, Audio Technica AT2035, or Shure MV7 deliver professional audio at reasonable prices. These are overkill for on location shooting but exceptional for controlled environment recording.
Audio Interface (£100-400) connects professional microphones and instruments to your computer for recording. Focusrite Scarlett, PreSonus Studio One, or Roland Rubix provide the adapter and preamps needed for XLR microphones. Only necessary if you are recording music or using professional studio mics.
Lighting for Video Production
Video lighting requires different considerations than photography. You need consistent light output, color accuracy across different times of day, and dimming capability to control exposure.
Natural Lighting (free) works beautifully if you understand it. Shoot during golden hour (first hour after sunrise, last hour before sunset) for warm, flattering light. Use white surfaces or reflectors to bounce light into shadows. North facing windows provide soft, consistent light throughout the day. The downside is scheduling constraints and weather dependency. Great for scripted content filmed on specific days.
Ring Lights (£30-100) are popular for talking head content like tutorials, commentary, or podcast videos. They create that bright, energetic look. The downside is flat lighting without much dimension. Ring lights work best paired with a fill light or key light for more three dimensional results.
Softbox Kits (£80-200) offer excellent results for minimal investment. A two light softbox kit with stands provides key light and fill light that transforms your video quality. Softboxes produce soft, diffused light flattering for faces and products. This is the setup we recommend for most creators starting with video.
LED Panel Lights (£150-400) like Neewer RGB panels or Godox SL-60W offer adjustable color temperature, intensity dimming, and excellent color rendering. RGB capability lets you create colored accent lighting for backgrounds. More expensive than softboxes but more flexible and professional looking.
Lighting for Specific Setups: Interview sets need flat, even lighting across both participants. Tutorial or desk content benefits from key light above and slightly in front, fill light bouncing from below. Background lighting separates subject from backdrop, adding depth. Use three point lighting (key, fill, back) as your goal but start with two light softbox kits.
Background, Set Design, and Recording Spaces
Your background communicates professionalism or amateurism within seconds. Cluttered, chaotic backgrounds distract viewers and diminish perceived video quality. Clean, intentional backgrounds enhance your message.
Home Office Setup is increasingly acceptable. A clean desk, shelves with organized books, plants adding color, and a simple wall background read as professional. Light desk lamp provides supplementary lighting. Keep the background uncluttered with one or two focal point objects (plant, small sculpture, or art).
Colored Backdrop Fabrics (£20-50) create a professional studio look instantly. Deep charcoal, forest green, dark blue, or black backdrops look excellent on camera. Avoid pure white which is harsh and difficult to light. Backdrop stands (£30-80) position fabric cleanly. Wrinkled backdrops read as amateur. Iron or steam your fabric before shoots.
Green Screen (£50-200) lets you use any background in post production. Great for adding virtual backgrounds, branding, or location appropriate scenery. The downside is additional post production work and potential hair fringing around edges if not lit and keyed carefully. Useful for education content but not essential.
Environmental Backdrops use your actual location as background. Recording in coffee shops, parks, studios, or offices adds authenticity but requires confident audio recording to overcome ambient sound. Ask permission before recording in other people's spaces.
Video Editing Software: From Free to Professional
CapCut (free) is staggeringly powerful for free software. Templates, effects, color correction, text animations, and stock music make editing quick and results look polished. The learning curve is gentle with intuitive interface. Perfect for TikTok, YouTube Shorts, Instagram Reels, or short form content. Many full time creators use CapCut for primary content because it is that capable.
DaVinci Resolve (free or £380 one time) is industry standard for color grading and editing. The free version is genuinely professional with only minor limitations compared to paid version. The learning curve is steeper than CapCut but results are phenomenal once mastered. Professional colorists use DaVinci globally. Investment in learning DaVinci makes your content grading capability world class.
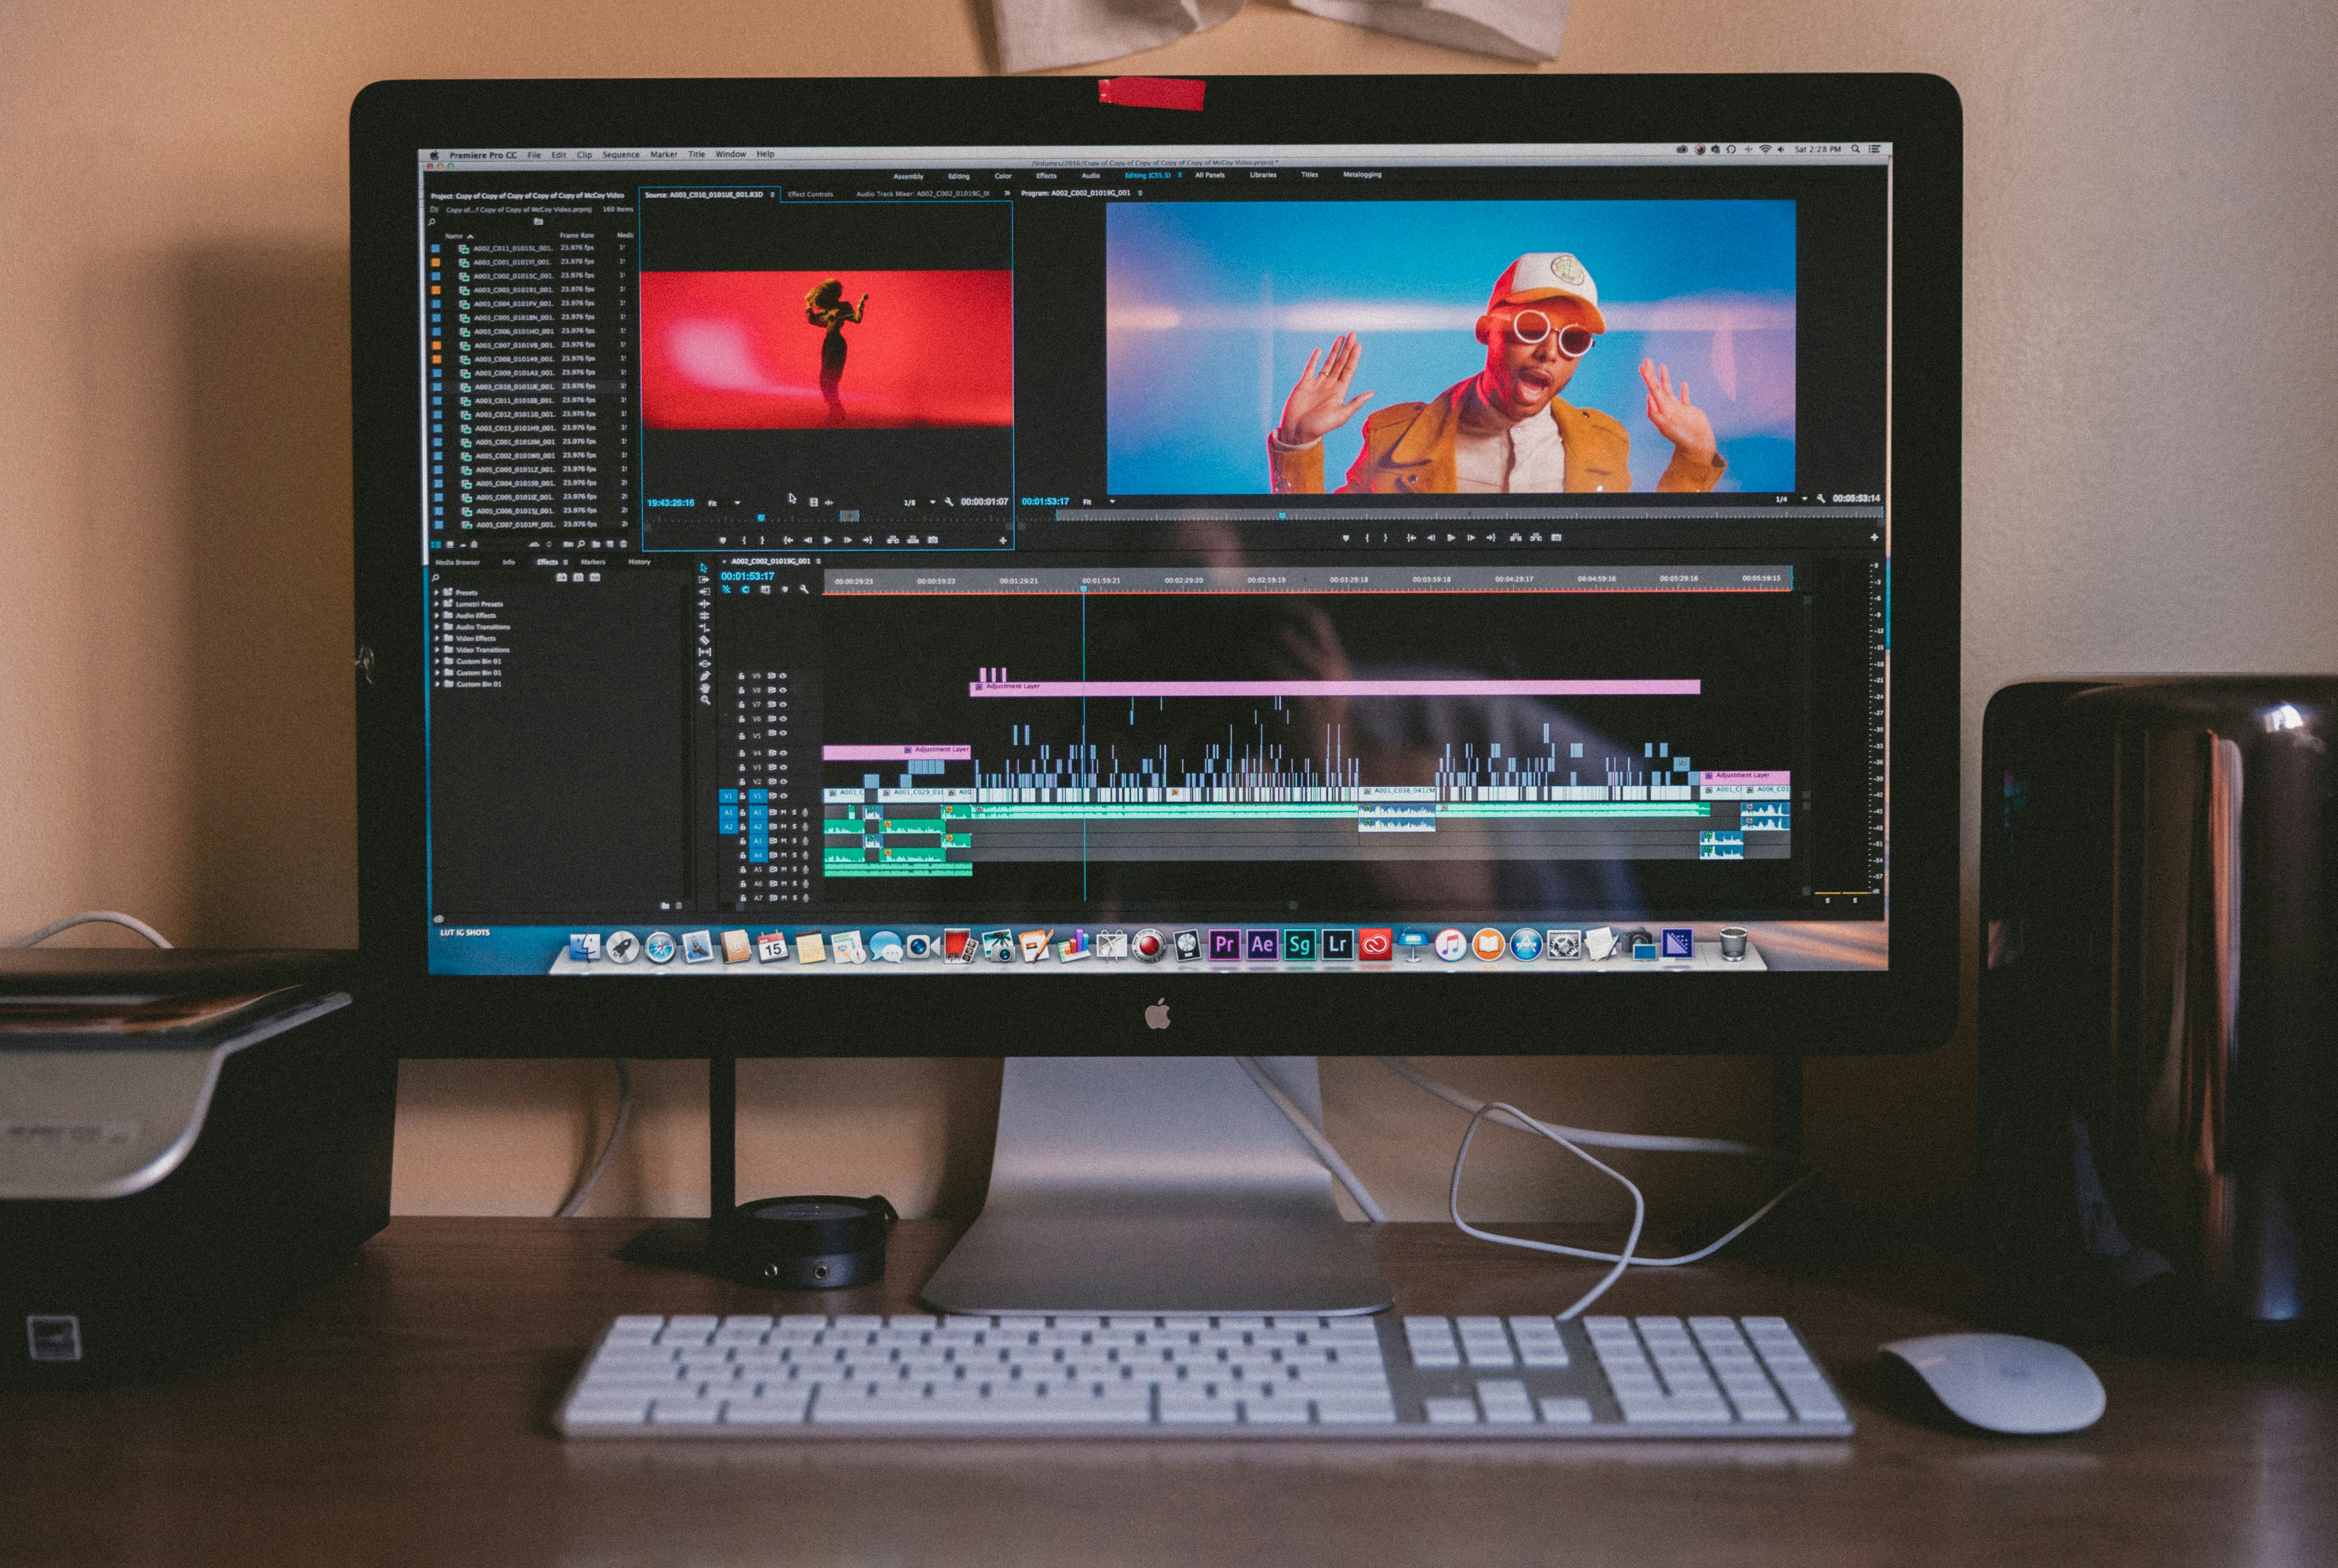
Adobe Premiere Pro (£54.99/month) is dominant in agencies and studios. Integration with After Effects, Audition, and other Creative Cloud apps is seamless. Collaboration features let multiple editors work on projects simultaneously. Learning curve is moderate. Industry standard that employers expect if you pursue content creation professionally.
Final Cut Pro (£300 one time purchase, Mac only) is preferred by many Mac users. Magnetic timeline prevents accidental sync issues between clips. Superior performance on Mac hardware. Excellent for long form editing. One time purchase means no monthly costs after initial investment.
Comparison for Beginners: Start with CapCut if you want fast results and intuitive interface. Choose DaVinci Resolve if you want professional tools and do not mind learning curve. Premiere Pro if you anticipate working in agencies or teams. Final Cut Pro if you are Mac exclusive and want one time software cost.
Upload Specifications and Technical Requirements
Video Resolution: Minimum 1080p (1920 x 1080). Ideal 4K (3840 x 2160) if your camera supports it. Vertical video (9:16 aspect ratio) for TikTok, Instagram Reels, YouTube Shorts. Horizontal video (16:9) for YouTube main feed. Shoot at highest resolution your camera supports and let each platform optimize for their viewers.
Frame Rate: 24fps creates cinematic feeling. 30fps is standard for most content. 60fps is excellent for sports or action content. Match your frame rate to your lighting frequency (50Hz in UK means 25fps or 50fps, not 30fps, though 30fps works acceptably). Most creators use 30fps as standard.
Bitrate: 8-12 Mbps for 1080p, 25-50 Mbps for 4K. Higher bitrates preserve more detail but create larger files. Upload bitrate limits vary by platform but higher bitrate always encodes better on platform servers.
Audio: AAC codec, stereo, 192kbps minimum (256kbps preferred). Normalize audio to 6dB below peak to prevent clipping on playback. Never upload audio peaking at 0dB. Leave headroom.
File Formats: MP4 (H.264 video, AAC audio) is universal. ProRes for professional workflows. Avoid MOV, AVI, or WMV which have compatibility issues on some platforms.
Thumbnail Creation and Visual Branding
Thumbnails represent 20 to 30 percent of your click through rate. A bad thumbnail tanks video performance regardless of content quality. Invest time creating compelling thumbnails.
Thumbnail Design Principles: High contrast colors that stand out on small screens. Large, readable text minimum 40px size. Your face with an emotional expression (surprised, excited, or serious depending on content). One focal point rather than cluttered design. Consistent branding elements that make your thumbnails instantly recognizable.
Tools for Thumbnail Creation: Canva Pro (£9.99/month) has templates specifically for YouTube, TikTok, and other platforms. Photoshop if you are comfortable with design. Adobe Express (free) is surprisingly capable. Avoid generic templates from free thumbnail websites as they look identical to thousands of other creators.
A/B Testing Thumbnails: Create multiple thumbnail options and upload the one with highest predicted click through. YouTube Studios analytics show how thumbnails perform. Test different colors, facial expressions, text styles. Track what resonates with your audience and iterate.
Budget Breakdown: Building Your Complete Video Setup
Minimal Setup (Under £200): Smartphone camera you already own, lavalier microphone (£30-50), two book lights or cheap clip lamps (£20), white wall as backdrop, CapCut editing (free). This setup produces content acceptable for YouTube, TikTok, and Vaultiyo. Focus on content quality over production value.
Beginner Setup (£500-800): Sony ZV-E1 camera (£400-500), Rode Wireless GO lavalier mic (£150-200), softbox lighting kit (£80), basic tripod (£30-50), CapCut or DaVinci Resolve (free). This setup handles any content type and provides room to grow skills without overwhelming investment.
Enthusiast Setup (£2,000-3,500): Sony A6700 camera (£1,300), Rode Wireless GO II system (£200), LED panel lights or softbox kit with stands (£300-500), professional tripod with fluid head (£200-300), backdrop stand and fabrics (£100-150), DaVinci Resolve Studio (£380) or Premiere Pro subscription. This is broadcast quality results suitable for full time creator income.
Professional Setup (£5,000+): Full frame cinema camera like Sony FX30 (£2,500), high end microphone system (£500), multi light lighting array (£1,500-2,000), professional stabilization (gimbal or slider, £500-1,500), studio space rental or dedicated room, Adobe Creative Cloud (£54.99/month). This represents serious investment reserved for studios and professionals generating substantial income.
Workflow Optimization and Consistency
Once equipment is in place, creating consistent content requires systematic workflow. Batch recording lets you film multiple videos in one session, then edit them over following weeks. This is more efficient than recording one video at a time.
Batch Recording Process: Plan three to five videos. Record all your takes with consistent lighting, background, and wardrobe. Review footage immediately to catch technical issues. Batch edit the videos over the following week using similar color grading and effects. Upload on a publishing schedule.
Color Grading Consistency: Create LUTs (Look Up Tables) or presets in DaVinci Resolve or Premiere Pro that you apply consistently across all videos. This creates visual cohesion that makes your audience instantly recognize your videos in their feed. Consistency matters more than perfect color.
Audio Processing: Normalize all audio tracks to consistent loudness. Apply compression gently to even out talking dynamics. Use EQ to reduce harshness or add warmth. Export with identical audio settings across all videos. Consistent audio quality is what professionals notice first.